So as I continue to settle in, you- my faithful food loving readers, can count on two things: some mouth-watering posts and a new blog name coming soon. Keep your
Do you have any kitchen fears? Something you would love to make but the idea of it scares you? It's the thing you always order out, but never make at home. After much research, contemplation and pushing from food mentors (thank you Diane and Debby!) I finally worked up the courage to try FRESH PASTA!
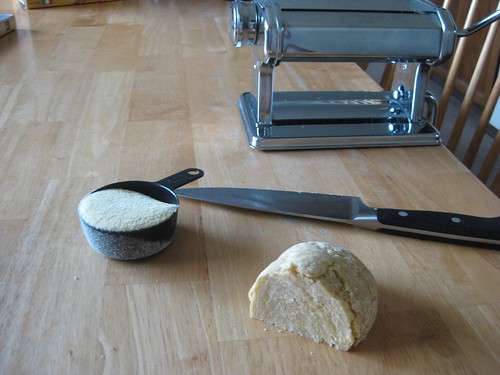
Debby from A Feast For The Eyes gave me the Pasta Bible last year and after studying it, and wiping up my salivation, I borrowed a hand crank pasta maker from my friend Diane Morgan. I carried that thing home from work like a new born child. What was I thinking? Could I really do this?

I took a half day off of work, wanting to give myself plenty of time to set up and practice.
I ended up using a recipe from a book Diane gave me from The Glorious Pasta of Italy. It was time to get those eggs crackin!
I don't have too many photos of the dough making. Your hands get pretty messy, but I must admit, it was delightfully fun. I thought about Italian mommas who do this all the time, whipping up a batch of fresh pasta for their family that evening. I COULD DO THIS!
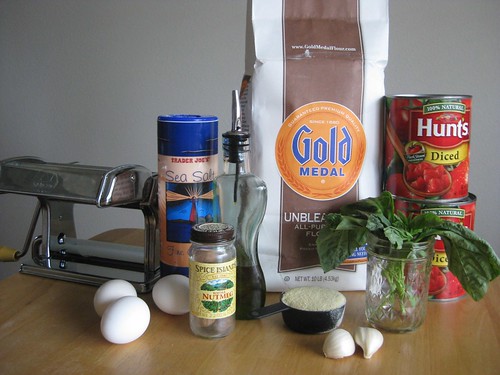
Fresh Egg Pasta Dough (makes about 1 pound of pasta)
2- 2 1/4 cups "00" flour, or unbleached all purpose/plain flour
1 tbls semolina flour, plus more for dusting the work surface and dough
1/2 tsp fine sea salt
a pinch of freshly ground nutmeg
3 extra large eggs
1-2 tbls extra virgin olive oil
Simple Tomato Sauce (makes 3- 3 1/2 cups, enough to dress 1 pound pasta)
2 28oz can diced tomatoes in their juices
2 large garlic cloves crushed
1/4 cup extra virgin olive oil
fine sea salt
5 large fresh basil leaves
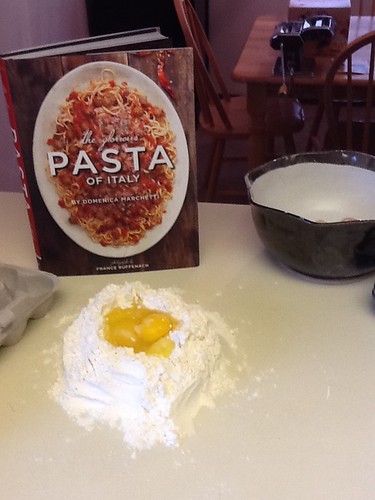
Start by combining the flours, salt and the nutmeg in a bowl.
Dump them out on your work surface. Make a mountain with the flour. Turn the mountain into a volcano. Your eggs will be the lava. Fill your volcano one egg at a time.
Add your olive oil to the eggs.
Using a fork, gently whisk together the eggs and the oil within the well you have created. Gradually begin to mix some of the flour from the "mountain sides" into the egg mixture. I got better at this with each batch, but don't panic if you have an earthquake and the lava flows everywhere. Just use your hands to gather it all together and keep mixing. Eventually it will all come together in a dough ball.
I love how Domina Marchetti describes the kneading process. I'm gonna let her walk you through the next part:
"Now use your hands to draw the remaining wall of flour over the thickened egg mixture and begin to mix it and kneed it. Using the palm of your hand, push the dough gently but firmly away from you and then fold it over toward you. Rotate the dough a quarter turn, and repeat the pushing and folding motion... The dough will begin as a shaggy mass but will eventually turn smooth (not sure if I would call mine smooth haha) as you knead it over several minutes. You may not use all of the flour on the work surface. When the dough is smooth and silky (mine was not silky either, but she gives you something to shoot for), form it into a ball and wrap it tightly in plastic wrap. Let it rest at room temperature for 30 min before stretching it."
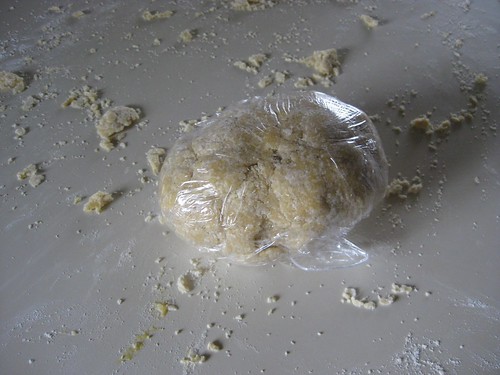
A few humble notes. After I experimented with several batches, I had my brother do the kneading part. I was impressed with how a little more strength and intentional "working" actually calmed the dough down. Less crumbling more smooth. Way to go Granto! The lesson is to take your time with this, be patient and each kneed should be firm and strong. He and his lovely lady Taylor came just in time to help and savor this treat! Little did they know that I would put them to work.

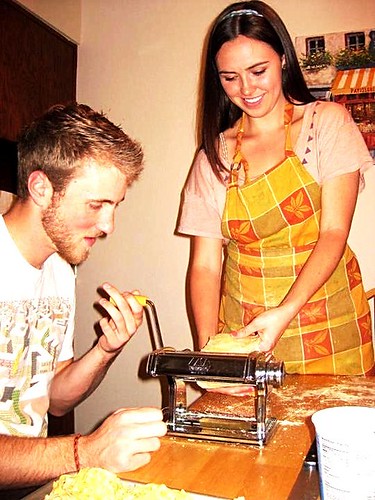
Once your dough has rested 30 minutes, it's time for stretching. Now... how in the world do you get this ball into strips to feed through the hand crank? Well... it's a great little trick.
Cut the dough into fourths. Wrap three of the quadrants while you work with the one.
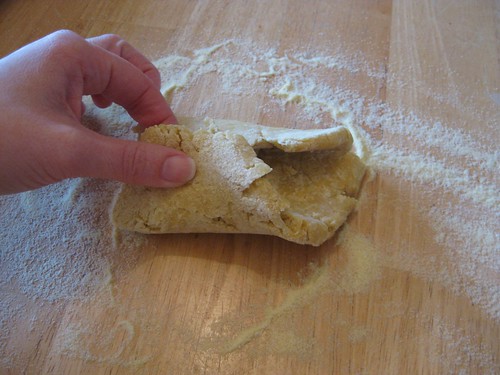
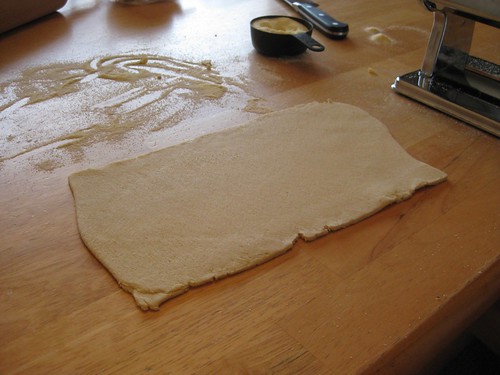
Dusting it with semolina flour, use a rolling pin to roll it out into a 3-4"x3-4" oval. Then the three fold! Fold it like a letter going into an envelope. Roll again with pin. When it's thin enough to feed through the lowest (widest) setting on the rollers you are ready.
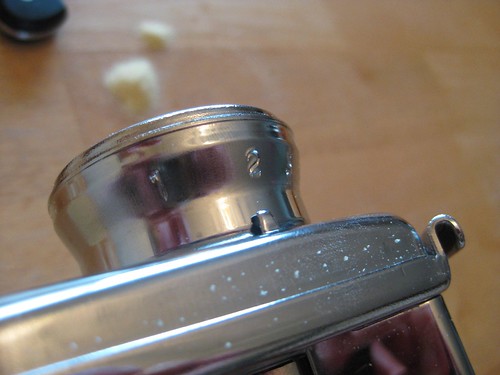
Start with 1 and work you way up to 6 (I found 7 to be a little thin). It's very much like ironing, pulling on different parts to pass it through perfectly. You may have to back up the rollers if you get stuck, but a little reverse can be a much needed grace in this process.
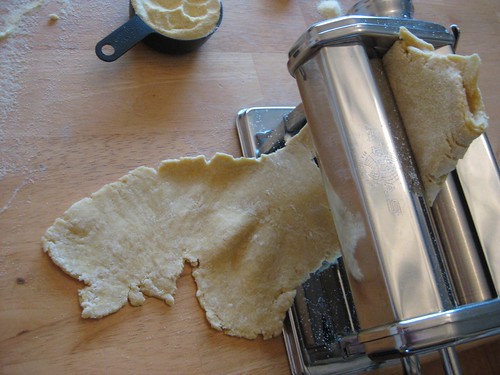
My first attempt... not so pretty.
Ahh... getting better.

I found that I ran the dough through each number twice or so just to get a well pressed dough.
When it gets really long like this one, you might cut it in half... makes it easier to work with. We are not making a bridal train here, we're making dinner.

Chris insisted on a self portrait. He was so proud of me conquering my fear of pasta from scratch.
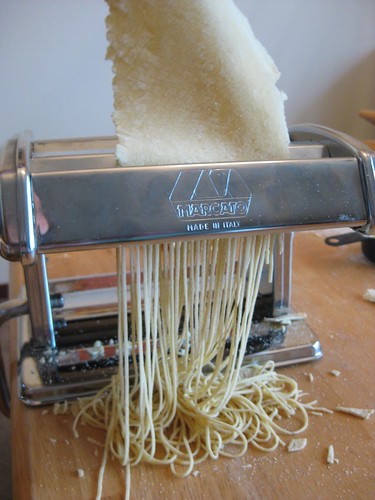
Once it's rolled out to the 6 or 7 setting on your machine, place the hand crank in the cutting crank. You can also cut them by hand. Maybe I'm still on JV, because that sounds so tedious. I'm not too much of an arts and crafts girl.
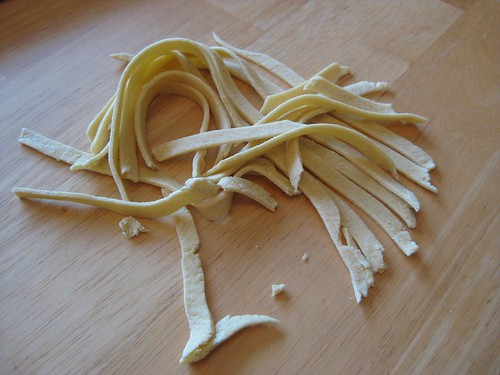
Humorous first attempt. Fail. Husband chimed in "I'll still eat it honey!"
Round 2. Much better. Sprinkle with more semolina flour and set on pan. You want to "set" it just so and toss it with the flour gently. Anyone who has curly hair (or 7 perms in their life time... thanks mom!) will get this. It's like putting in the styling gel but not wanting to damage the curl or misshape them. Just toss and enhance. Totally a Pantene moment.
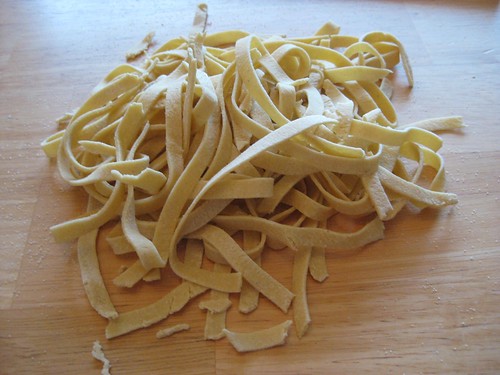
Lots of options on how to cut your pasta. So many decisions! So many recipes to try!
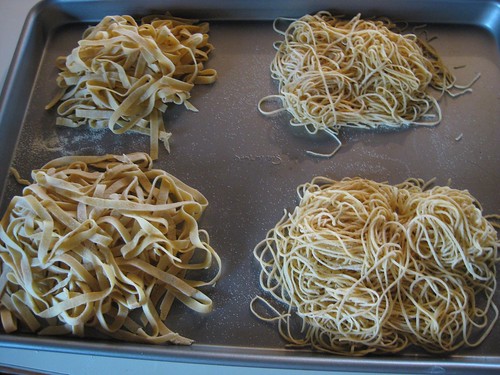
Waaahoo! Look at those lovely curls! I'm a stylist today!
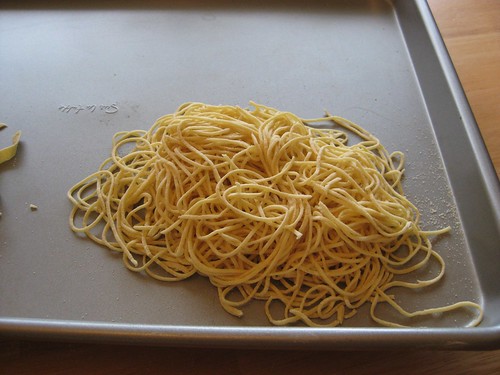
Now, the author of The Glorious Pasta of Italy recommends freezing your fresh pasta instead of drying it, if you're not going to cook it right then. This was intriguing to me.
I froze them in these little nests on a baking sheet for about an hour. Then I placed the nests in zip-lock bags and returned them to the freezer. They were perfect! They will taste fresh up to one month (I dare you to hold onto these little bundles of joy longer than a week!) Also, no thawing aloud. It goes straight from the freezer into the boiling water.
Now for the good part.
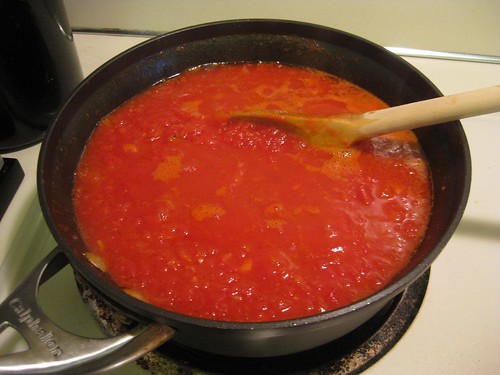
Warm the garlic in olive oil for a few minutes until it's sizzling and aromatic. Carefully pour in tomatoes and their juices. Stand back, there will be splatter. I already have dough dried in my hair, so I'm ready to get messy. Add about a tsp of salt, or however much you desire and bring to a simmer.
Reduce heat to medium low and allow to simmer and bubble for 30-35 minutes, uncovered.
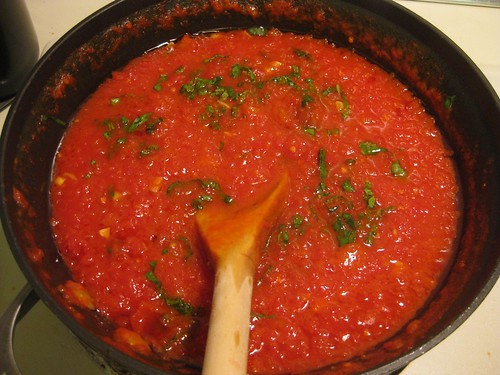
Remove from heat and stir in fresh basil, finely chopped or in a chiffonade. Add salt to taste if needed.
In the mean time, have your water boiling for your pasta. When boiling, give it a healthy salting. Don't be shy on this, remember, we've gone through this before. Season now, not later.
So here's the play by play after the water is salted:
1) Open freezer to fetch noodles (or if they are fresh, get 'em ready)
2) Drop them into boiling water gently
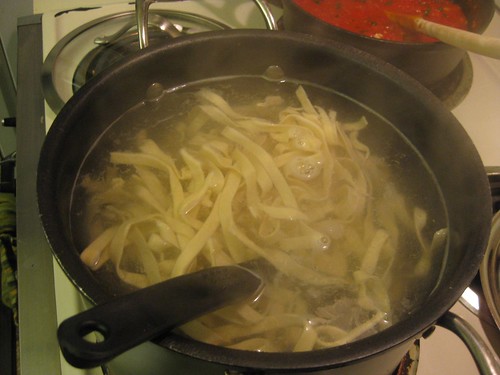
3) Cover with lid to bring the boil back up quickly
4) Uncover the pot after boil has returned
5) Begin checking for "done-ness" immediately as most fresh pasta cuts will cook almost immediately. Mine cooked in about 2 minutes.
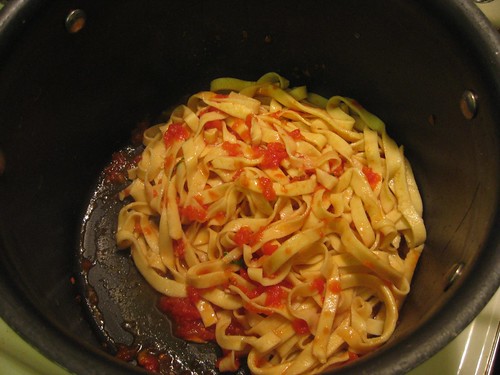
6) Drain through a colander and return to pot, now on low heat (reserve a little bit of cooking water in case sauce needs thickening. Starchy water can be helpful in dressing a delicate pasta with a thicker sauce)
7) Dress with sauce immediately, it's a light dressing, you want to "taste" the pasta, not hide it. Think light summer wear, not winter over-coat. We want to show off those pasta curves!
8) Serve and eat slowly, enjoying every bit of your hard work.
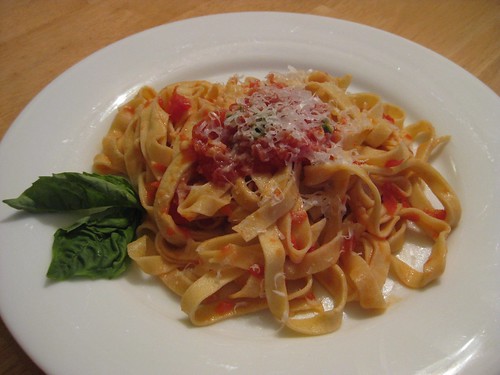
Top with Parm. Repeat every day for a year. OK, we don't want to over do it, but it was seriously that good.
Hey! I'm so proud of you. I confess, that i bought a pasta maker on eBay and procrastinated making my first pasta. Once I actually did it, it was a lot of fun! Fresh pasta is the BEST, and I love the simple tomato sauce. So glad you are enjoying your cookbooks.
ReplyDelete